My Introduction to .22 Remington BR (.22 Remington Bench Rest)
From the time I returned from Idaho in early May until well into the summer of 2009, I had been thinking about what kind of gun I wanted that would utilize the new Hart barrel won at the Boomershoot Dinner raffle. I recalled an article in the April 2007 issue of Precision Shooting magazine that was written by Dick Wright. Dick lives in Michigan, though a ways north of me, about 2 ½ hours driving time. I did not know Dick at that point, other than through his many articles in the magazine and that he and his wife, Glorya, were bench rest shooters with many years of experience in that shooting discipline.
The article of Dick’s that I remembered dealt with a rifle he reviewed made by a fellow in Lansing, Michigan named John Pierce. John runs an engineering shop that primarily deals in custom cylinder head modifications for racing applications.
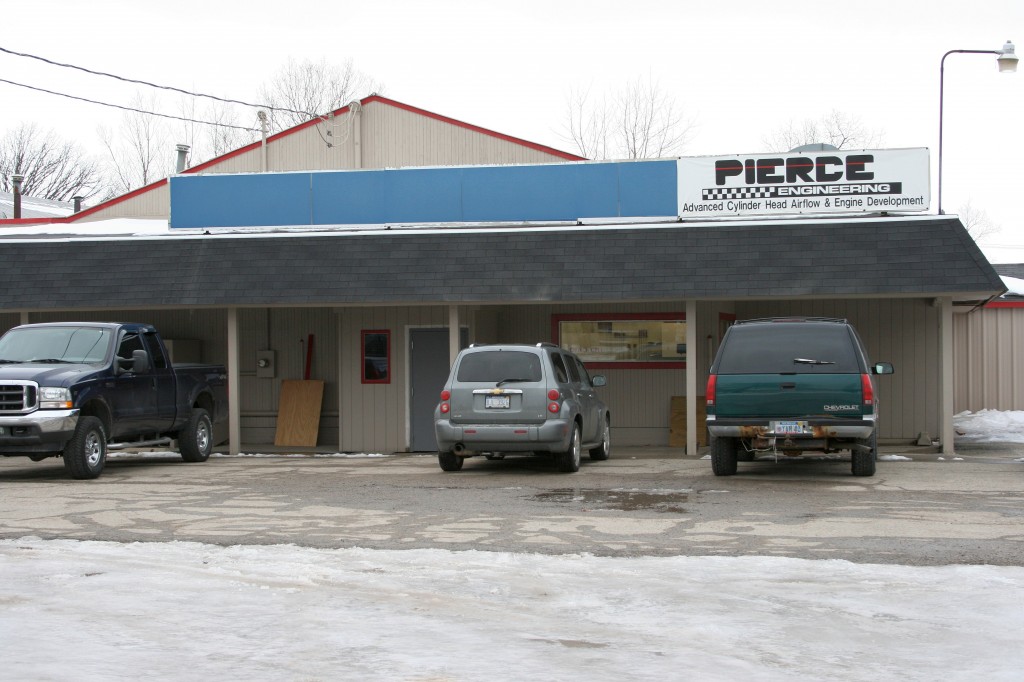 photo by Dave RNS Photographer ©
It so happens that John is also a bench rest shooter and since he has the CNC equipment and other necessary machinery, he has started his own line of rifle actions based on the Remington 700.
I contacted John and asked if I could meet with him about a project rifle. He said sure, come on by. I drove over to John’s shop and met with him and started discussing what rifle I wanted to build.
My original thought was to have the rifle chambered in .223 and built as a repeater. John was more than willing to accommodate me and build the rifle as such, but did suggest that I might try it in .22 BR instead. He said it was a very accurate cartridge. I was a bit leery of getting into another new caliber and the requisite new sets of dies, etc. John also mentioned that a single shot would be something to consider, as the action would be stiffer, adding to accuracy potential.
I stuck with my initial plan and we wrote up the order for a repeater with a Jewel trigger with top safety, a Pierce tactical rail mounted on the Pierce short action, fluted bolt, a BDL bottom metal kit, my Hart barrel chambered in .223 with a target crown at the muzzle, all coated in black.
Here’s some of John’s actions.
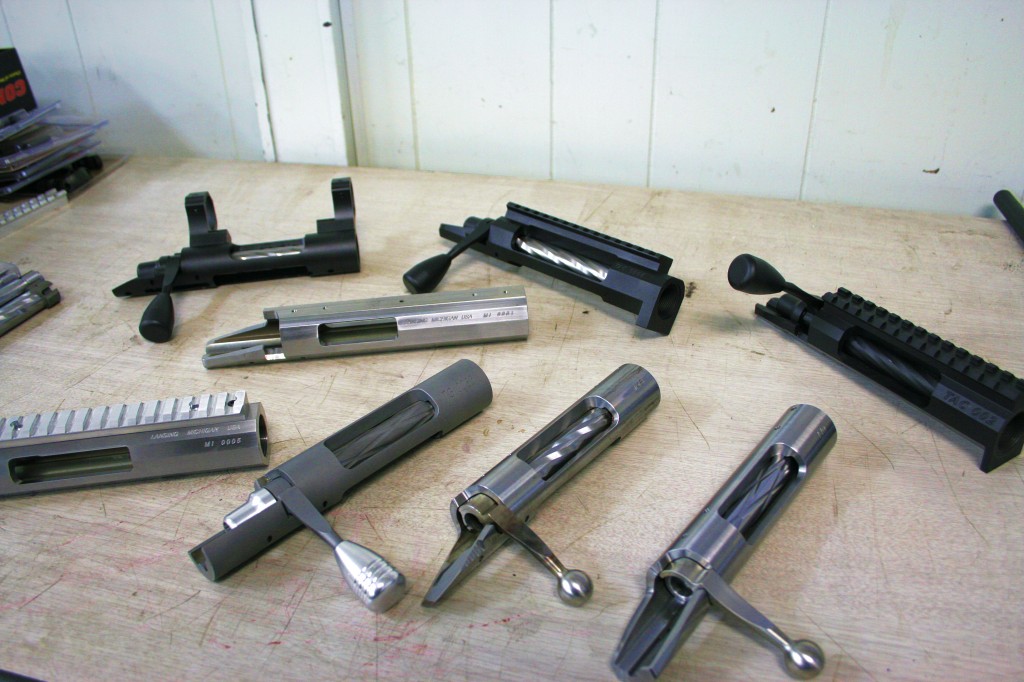 photo by Dave RNS Photographer ©
Actions, barrel blanks, a rifle stock and chrome valve covers . . what’s not to like?
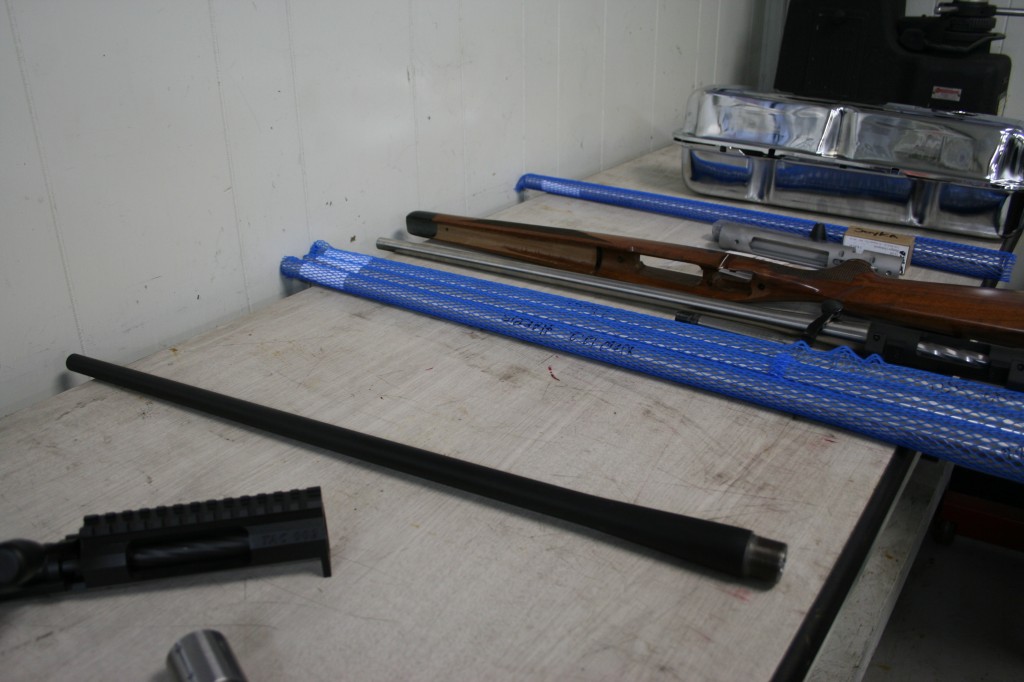 photo by Dave RNS Photographer ©
I left the shop with an order written up for a barreled action, but now had a new mission. I needed a stock. I had two pieces of wood blanks sitting at home and I wanted to have someone make a stock for this project rifle using one of them. I again asked Dick Wright about stock makers that he might recommend and he gave me the name and number of a gentleman located in Ohio. I was able to reach this person and we discussed the rifle project and my desire to have a stock made. Unfortunately, he was sort of retiring and said he had enough of a backlog to last more than a year and wasn’t taking new orders. Bummer.
One interesting thing did come out of this conversation. He also was very positive about the .22 BR cartridge and added another layer of friendly arm twisting on top of what I had received from John Pierce. The seed was planted and began to germinate. About two weeks after I had given the order and a deposit to John, I called and asked if I could change the chambering of the rifle and change from a repeater to a single shot. I was in luck. The order was modified to chamber in .22 BR as a single shot.
With that done, I still needed a stock. By this time, I had come to realize that a custom stock made by a skilled craftsman would be very expensive and take a long time, not to mention that they would need the barreled action sent to them and I would not be able to use the rifle for a long time. I decided to set aside my desire for a custom stock made from one of my blanks and ordered a H-S Precision composite varmint series stock from Stocky’s in Florida. This was configured as an ADL, short action, tan in color, with black webbing.
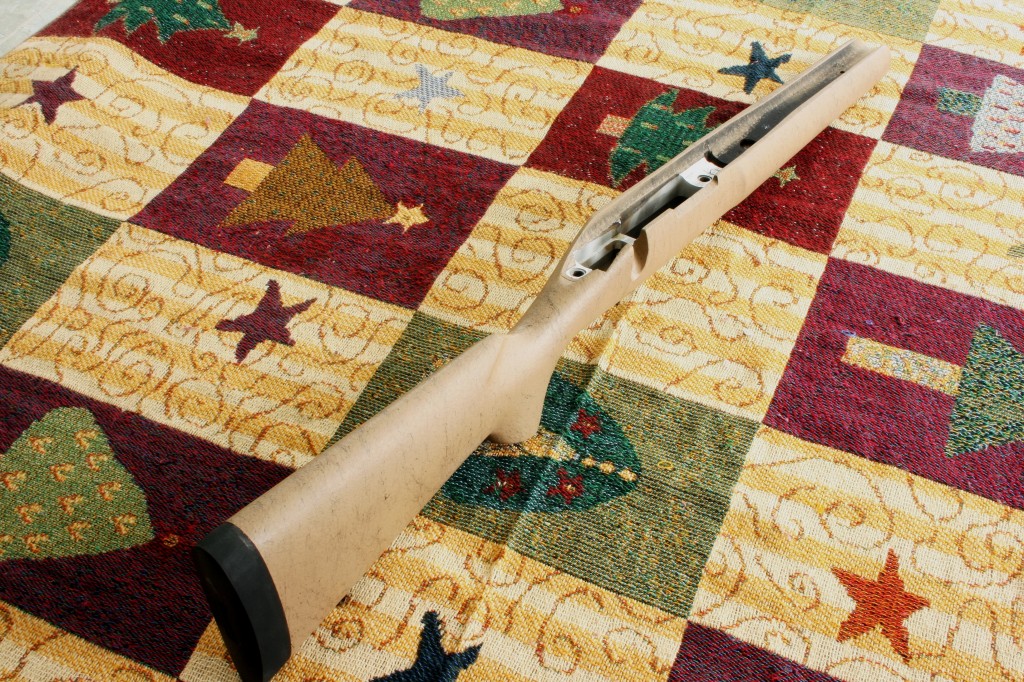 photo by Dave RNS Photographer ©
The stock arrived in a timely manner and after some more months passed, I got a call from Pierce’s shop saying that my rifle was ready to pick up. Returning home from Pierce’s, I assembled the barreled action to the stock and was very pleased with the finished rifle. I needed to load some cartridges and get to the range.
While Pierce was making the rifle, I’d ordered some Lapua 6mm BR brass. There is no commercially made .22 BR brass available, so I’d have to start with 6mm BR cases and neck them down to accept the .224 bullets. I called up Sinclair International and spoke with a tech for some guidance and die selection. I ended up getting 4 dies: I start forming the smaller neck using a 22BR bullet seating die with the seating stem removed as an initial forming step; next I use a 22BR full length sizing die; I added a Forster 6mmBR body die to use to bump the shoulders back should the cases need it after several firings; and lastly, a competition bullet seating die with micrometer head. These are the 4 dies in the front of the turret in the picture.
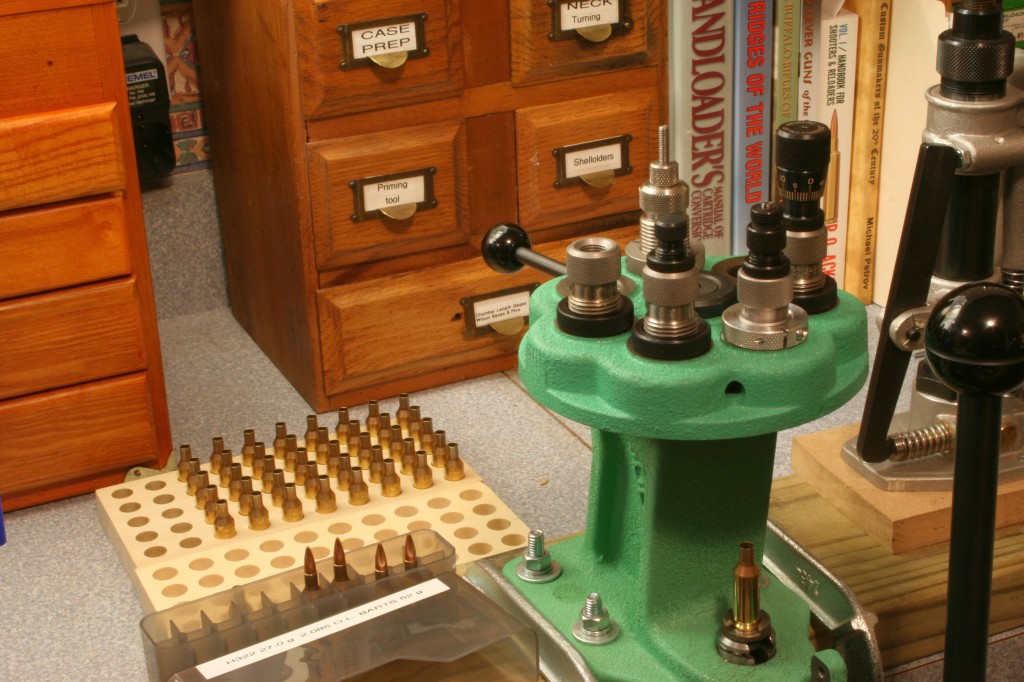 photo by Dave RNS Photographer ©
I acquired some .224 bullets by Barts, Berger and Sierra and loaded some of each with H322 powder and CCI BR-4 Small Rifle Benchrest Primers.
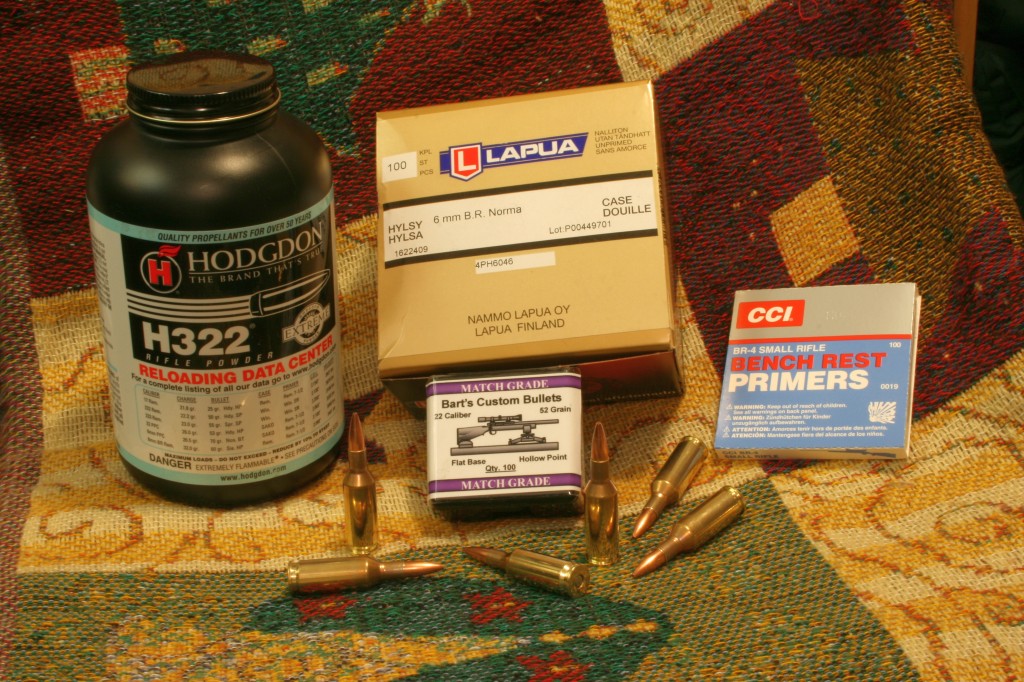 photo by Dave RNS Photographer ©
Without any rigorous load development, I shot the following 3-shot group at 100 yds. with the Barts bullets:
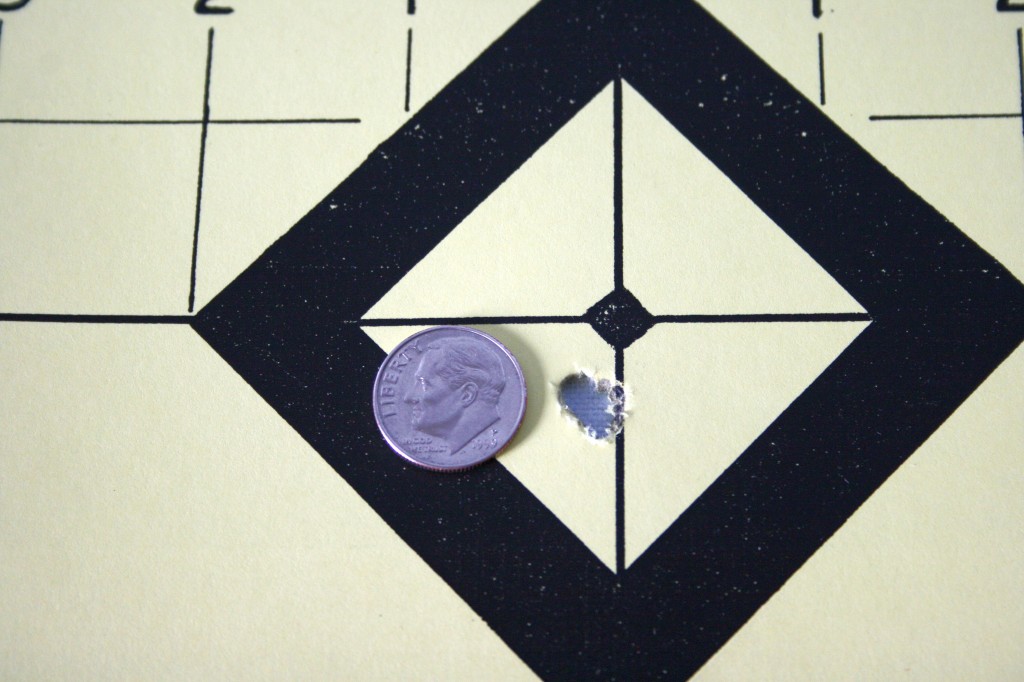 photo by Dave RNS Photographer ©
I have a more load development to do to see what this rifle can do, but it looks promising so far.
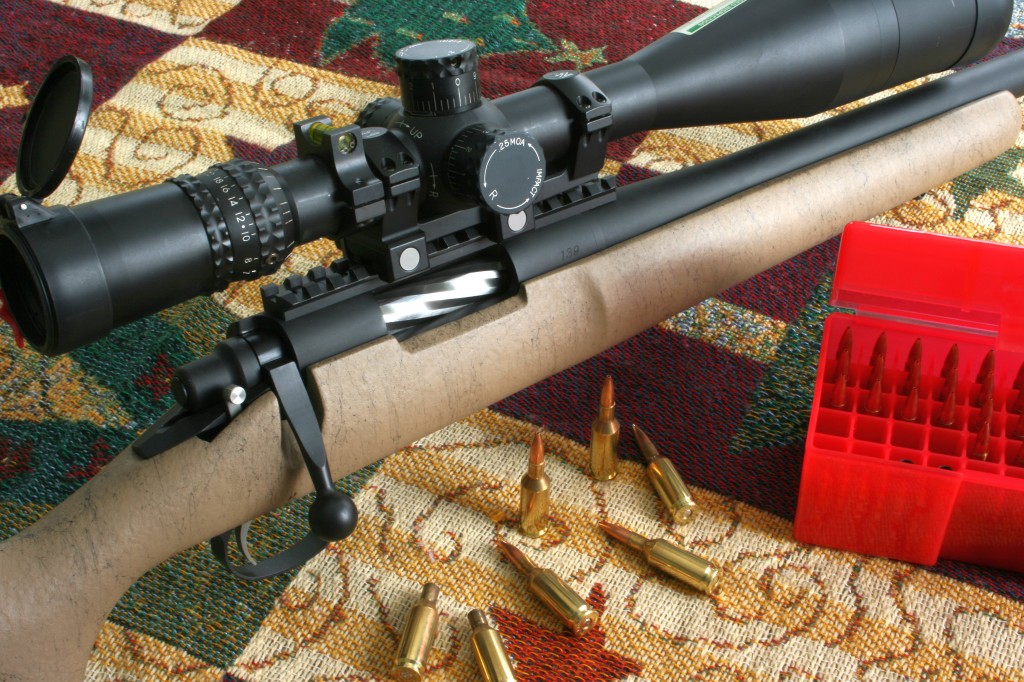 photo by Dave RNS Photographer ©
I did take this rifle up to Harrison, MI for a 100 yd. club bench rest match to try it out. I was happy with the result, especially since this was only my second try at this type of competition. I tend to pull the trigger once the cartridge is chambered and I’ve acquired the target in the scope. I’m not patient enough to wait until the wind flags are “just so” before making each shot. I need to work on that.
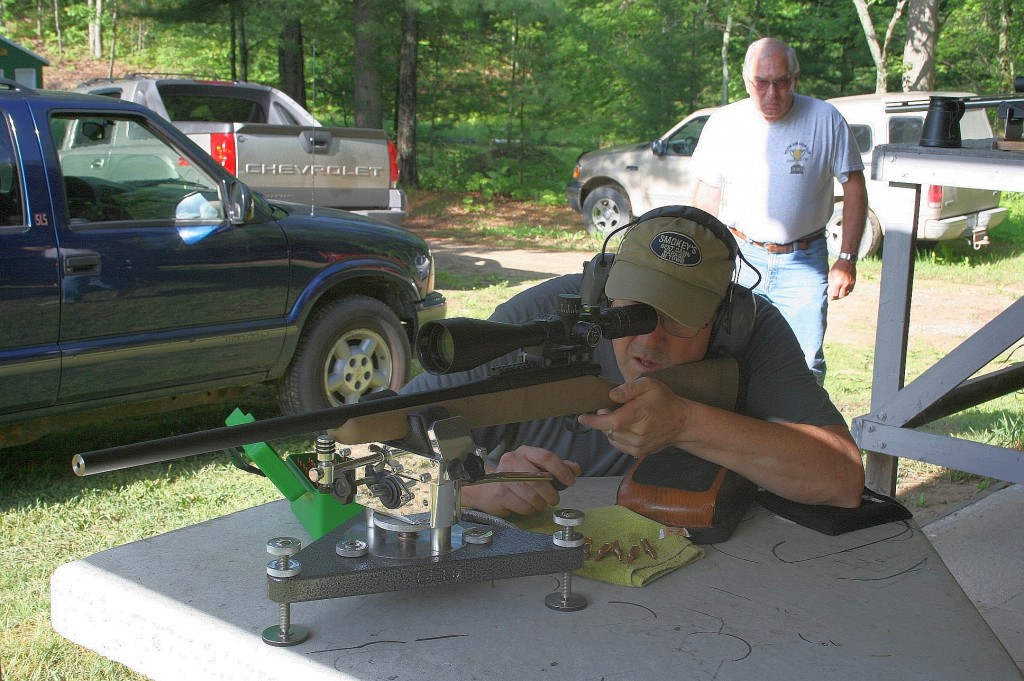 photo by Dave RNS Photographer ©
You may have noticed the Nightforce scope on the rifle. I chose to use a Nightforce one-piece Unimount with the scope. Once the scope is mounted in the Unimount, it stays together as an assembly.
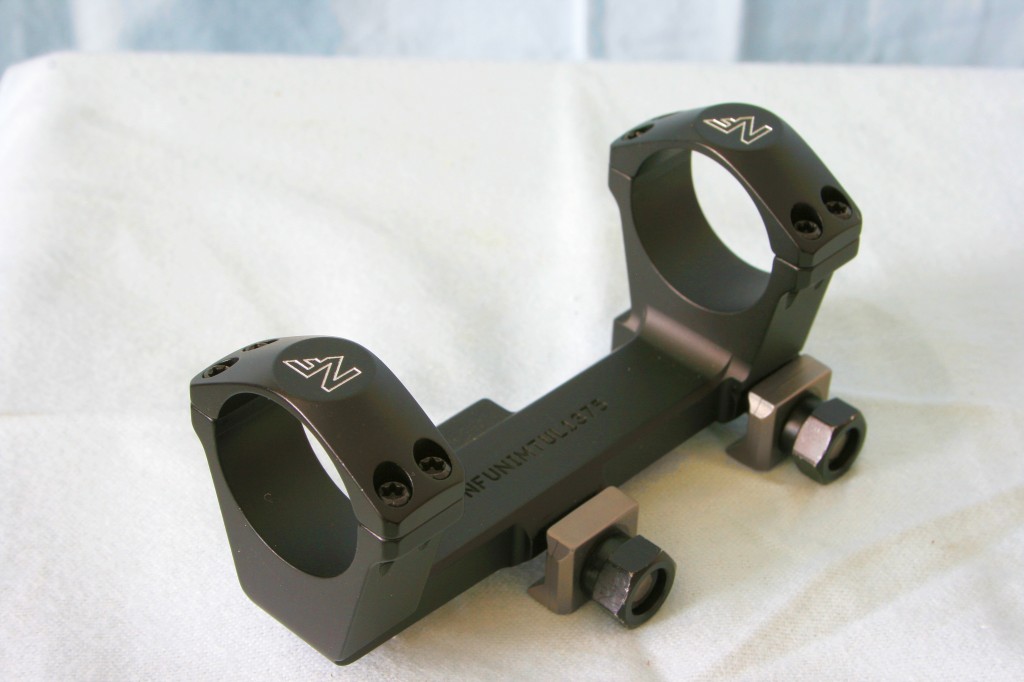 photo by Dave RNS Photographer ©
With the Unimount , I can switch the scope/mount assembly between rifles as needed. I mark the rails on the rifle with a silver Sharpie marker after adjusting placement on the rail for good eye relief. That way I place the mount in the same slots every time.
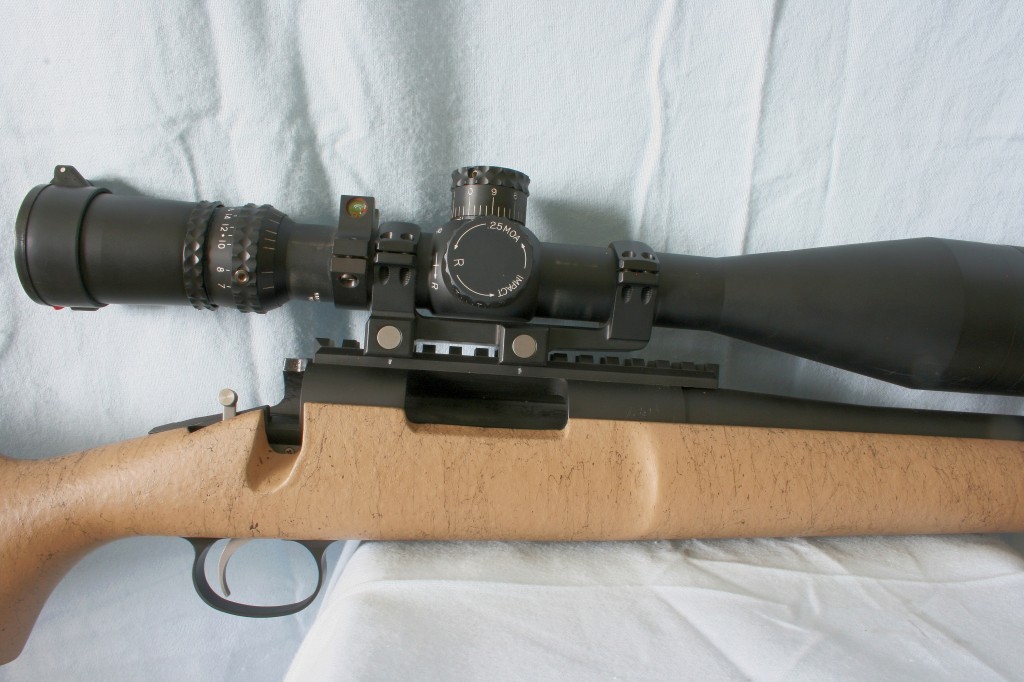 photo by Dave RNS Photographer ©
I’m sure that minor changes take place each time I take the scope off of a rifle and when I put it back on. I wouldn’t assume that I could slap the scope back on a particular rifle with the previous scope settings for that rifle and proceed to hit a precision shot placement without first checking where the point of impact falls. So far I’ve been able to quickly get a 100 yd. zero after remounting the scope/mount assembly.
One of the possible “range projects†I’ve put on a list for future investigation, is taking the scope off and on a rifle say 20 times (to get a significant sample size) and see how widespread the shots are without moving the turrets (assuming of course, that I start with a good ‘zero’. I may find that the spread between shot cycles is more than I anticipated. Until that is confirmed, I like the convenience of the Unimount for switching the scope between rifles.
Next: Â Â Â Part 4Â Â Â Â Â Â Â Â Â Â Â Â Â Â Â Tube Guns
Previous Chapters:
