
It’s been a couple weeks, but I’m finally getting off my backside to finish up posting about repairing Joe’s steel targets. I was fiddling about on my phone, saw the pics and facepalmed. So here we go.
From the previous post, I was repairing a load of craters put into the targets by steel core ammo. To do this without harming the impact/abrasive resistance of the AR500 steel, you need to pre-heat the metal to at least 500 degrees Fahrenheit so that the crystalline structure of the old metal will accept the new metal and get the new metal to act like the old metal. You then have to control the cooling of the metal so that the two stay together.
As you can probably guess, there is lots of fire involved and you’ll need some good gloves and a pile of thick blankets you don’t mind getting absolutely filthy. This will leave you with little time for photographs, which probably for the better, because there is fire everywhere and your phone is made of plastic.
Hit the button for the rest
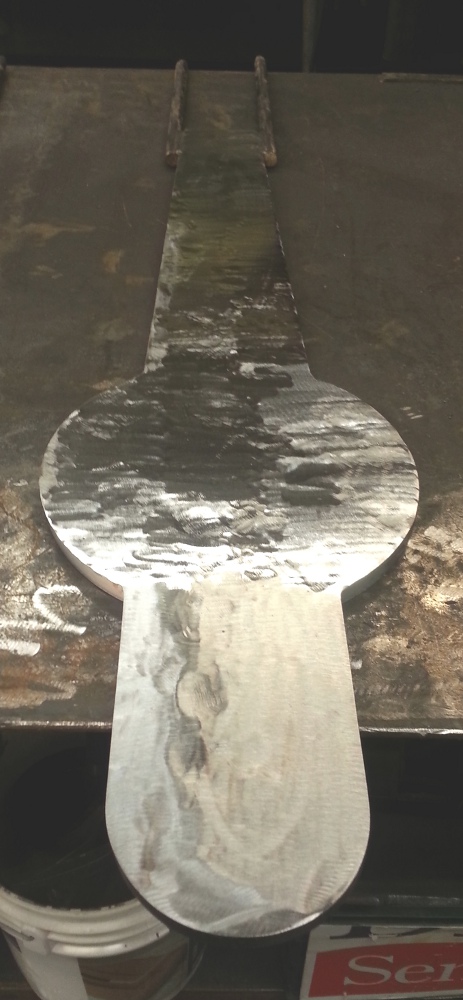
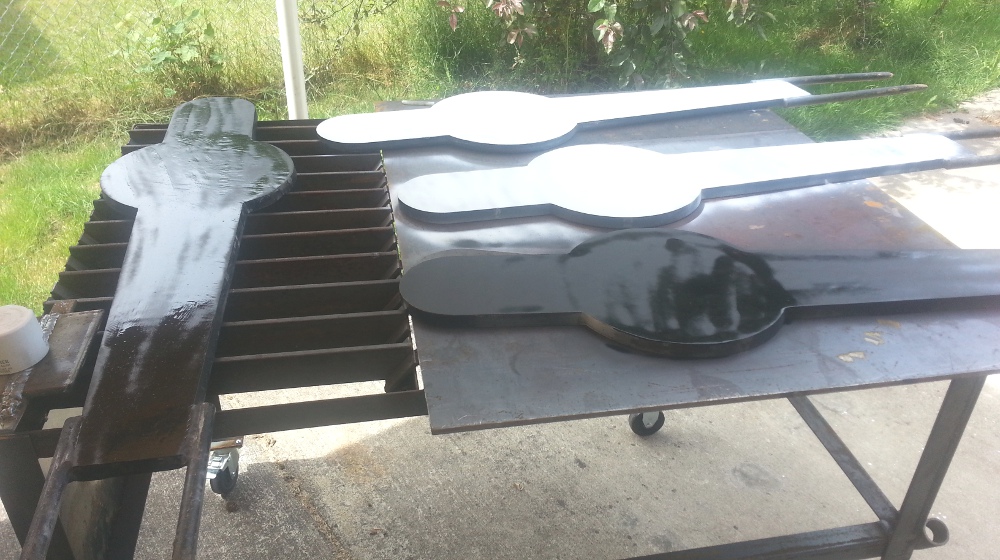
Once you have the steel cooled down to where you can stand next to it without sweating, you can uncover it and let it cool overnight. Then you can grind. If you were a serious gunblogger who had more than three hours per night, two nights a week to do this you could remember to waste time taking pictures of the cooled steel. I don’t, so here is the steel after the first round of grinding.
(All pics are click to enlarge)
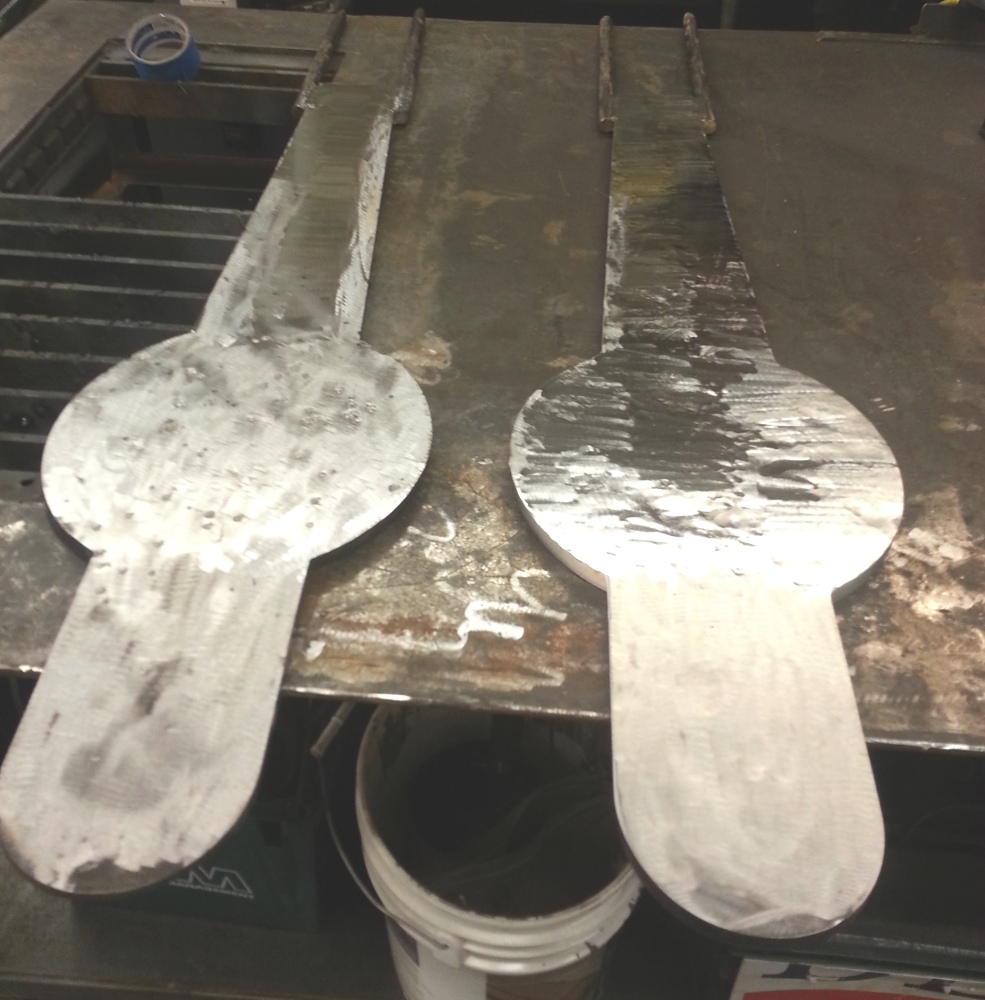
And again, compared to one about to get the same treatment.
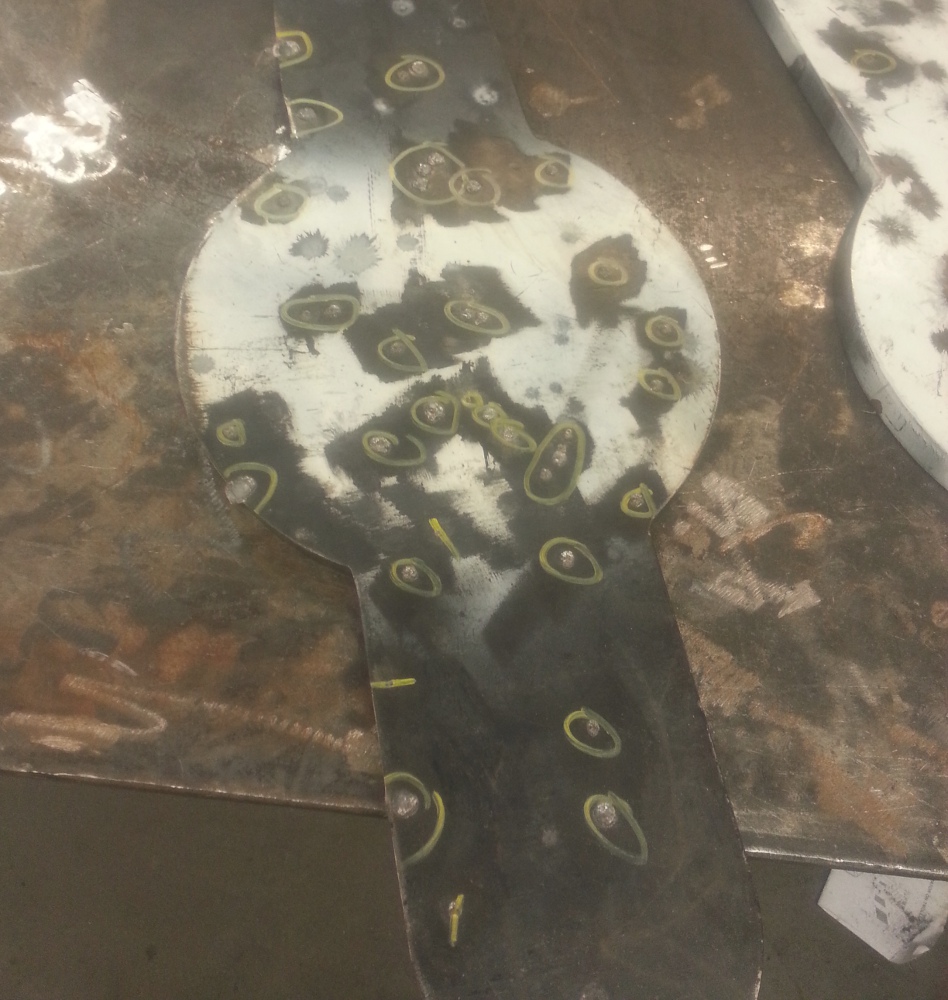
The dark spots on the one on the left used to look like this
Here they all are brought to Firebase Blue for a final grinding session before getting painted.
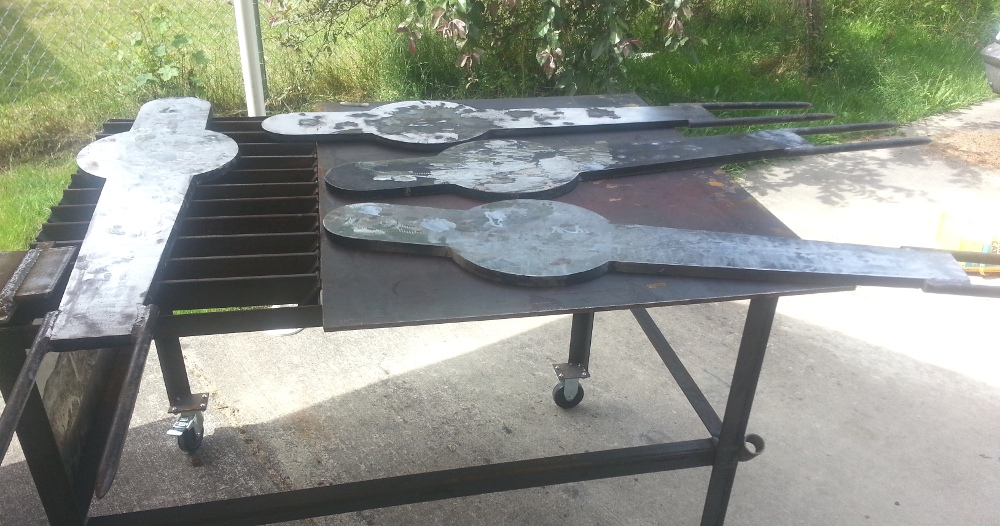
And here are the Yin/Yang quadruplets ready for Joe to pick up.
In an interesting side note, I wanted to see if I could whip up a target stand for these heavy bastards. I had some scrap lying about and had cut some 2 1/2″ x 3/8″ flat bar during school the day before.
Boom! Instant target dog.
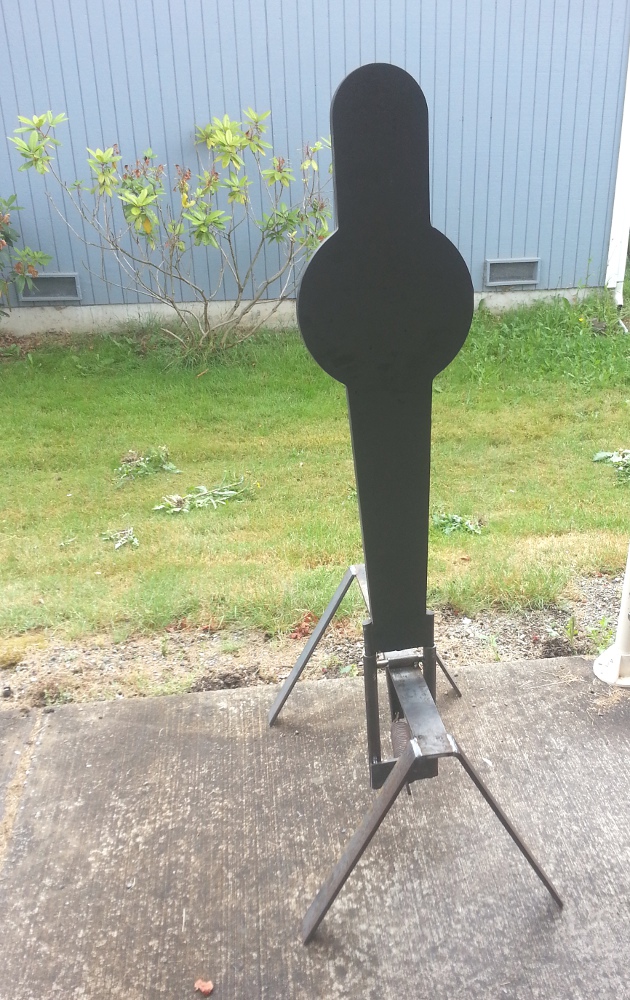
Sadly, the spring I had laying about that was the inspiration for the idea was from an old GM vehicle’s hood hinge and it was a might bit strong. It’ll return these 75lb wonders to full vertical, but you’ll have to hit them with a .50BMG to get them to lean back past 25 degrees.
Oh well. Best laid plans and all that. Joe seemed happy with both the targets and the dog, but I’m still on the lookout for a better spring.
Lastly, come the end of August/beginning of September I’ll be able to cut steel up to 1″ thick. I’ll be working from the table you see in the above pics and be working for excellent rates. If you live within reasonable driving distance and want to own your own set of steel shooting plates, I’m wanting to be that guy for you. If you don’t live within reasonable driving distance, we can work on that too.
If you have a particular shape you’ll be wanting, email me a pic or a written description and we’ll work it out. Get in line early. I’m hoping to have a busy late Summer.
Hmmm… I’d imagine that grinding “abrasion-resistant” steel would be a challenge.